
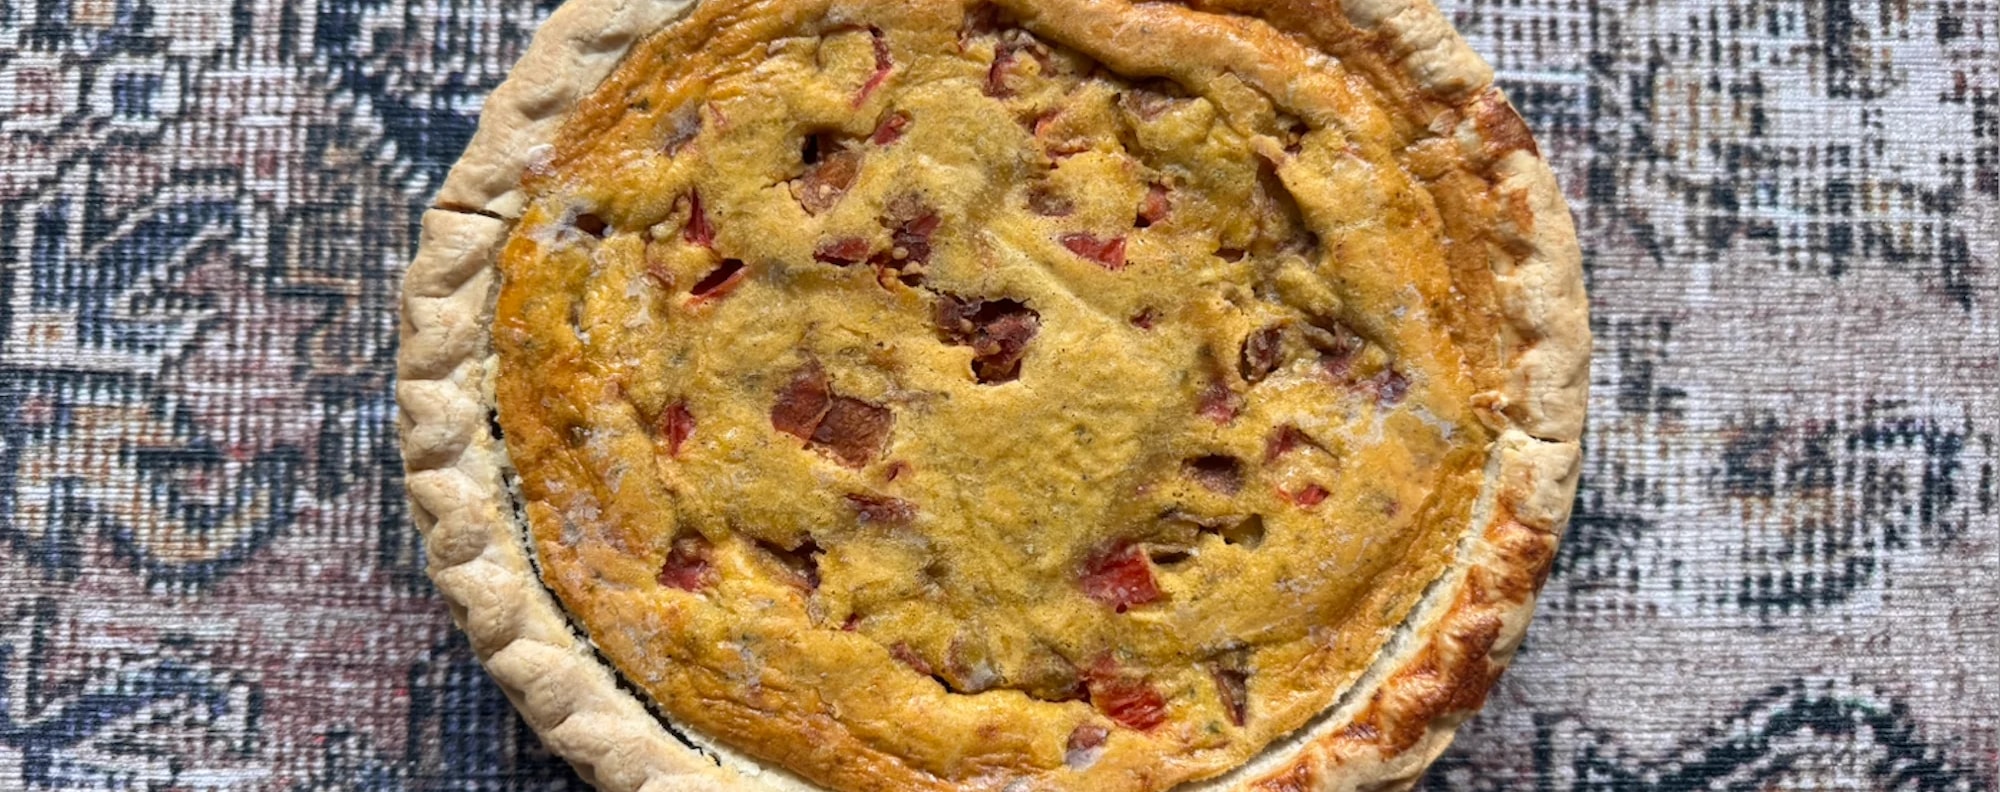
I’m a mother who has too many eggs these days.
It’s a gift, to have “liquid gold” many months of the years, provided by our not-very-smart batch of chickens. And if it means we have to occasionally battle a broody hen who is sure her unfertilized eggs will miraculously yield babies, so be it.
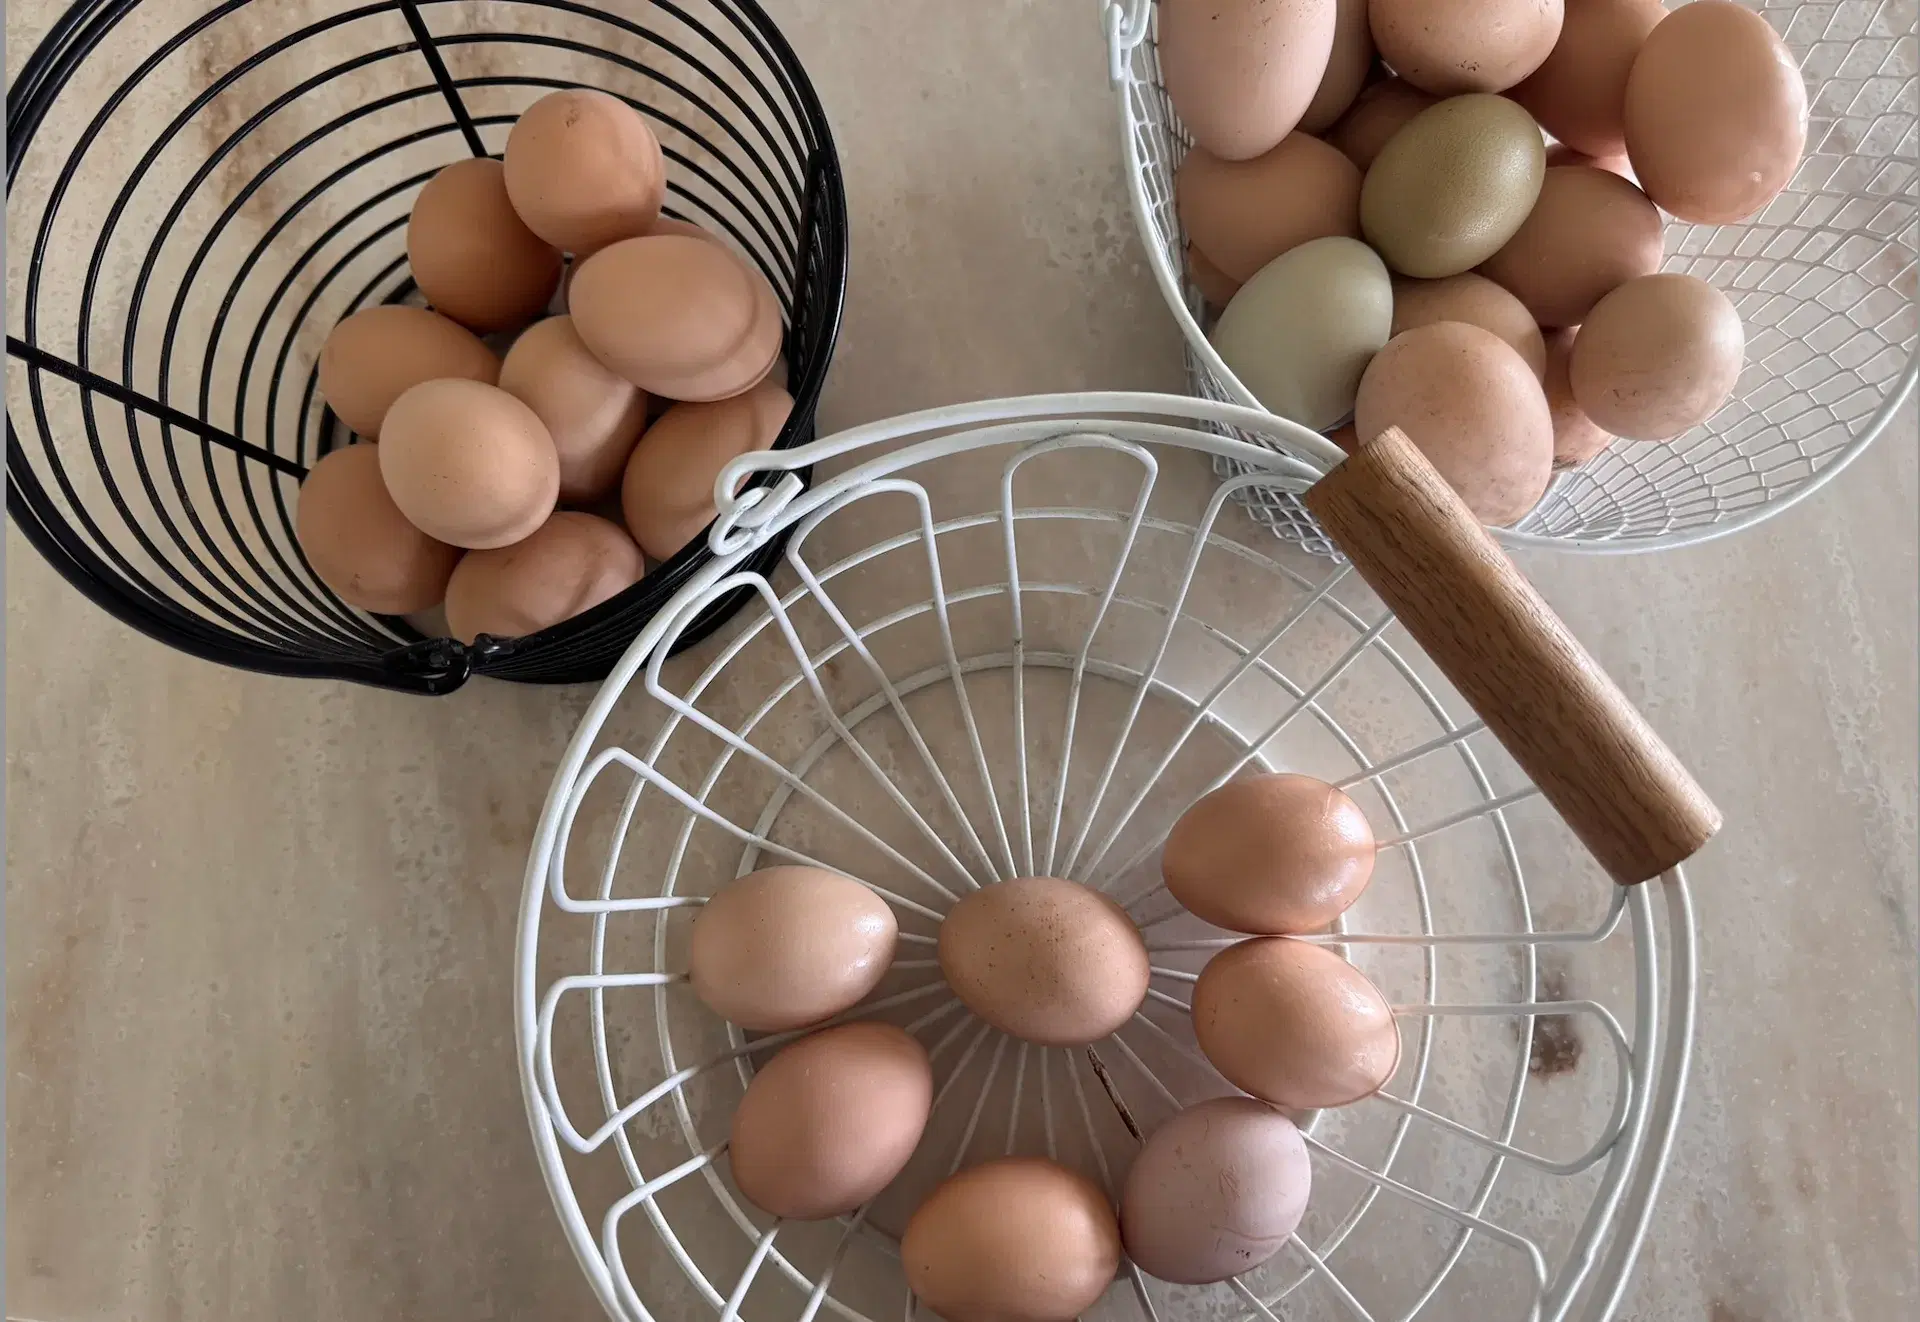
But there are times when I suddenly realize I have too many eggs for even our family of five, three of whom are ravenous teenagers, to eat fast enough. They pile up sneakily until before I know it, all three egg baskets are overflowing. I’ll make cheesecakes to freeze and share with the neighbors and friends, but I eventually cry uncle.
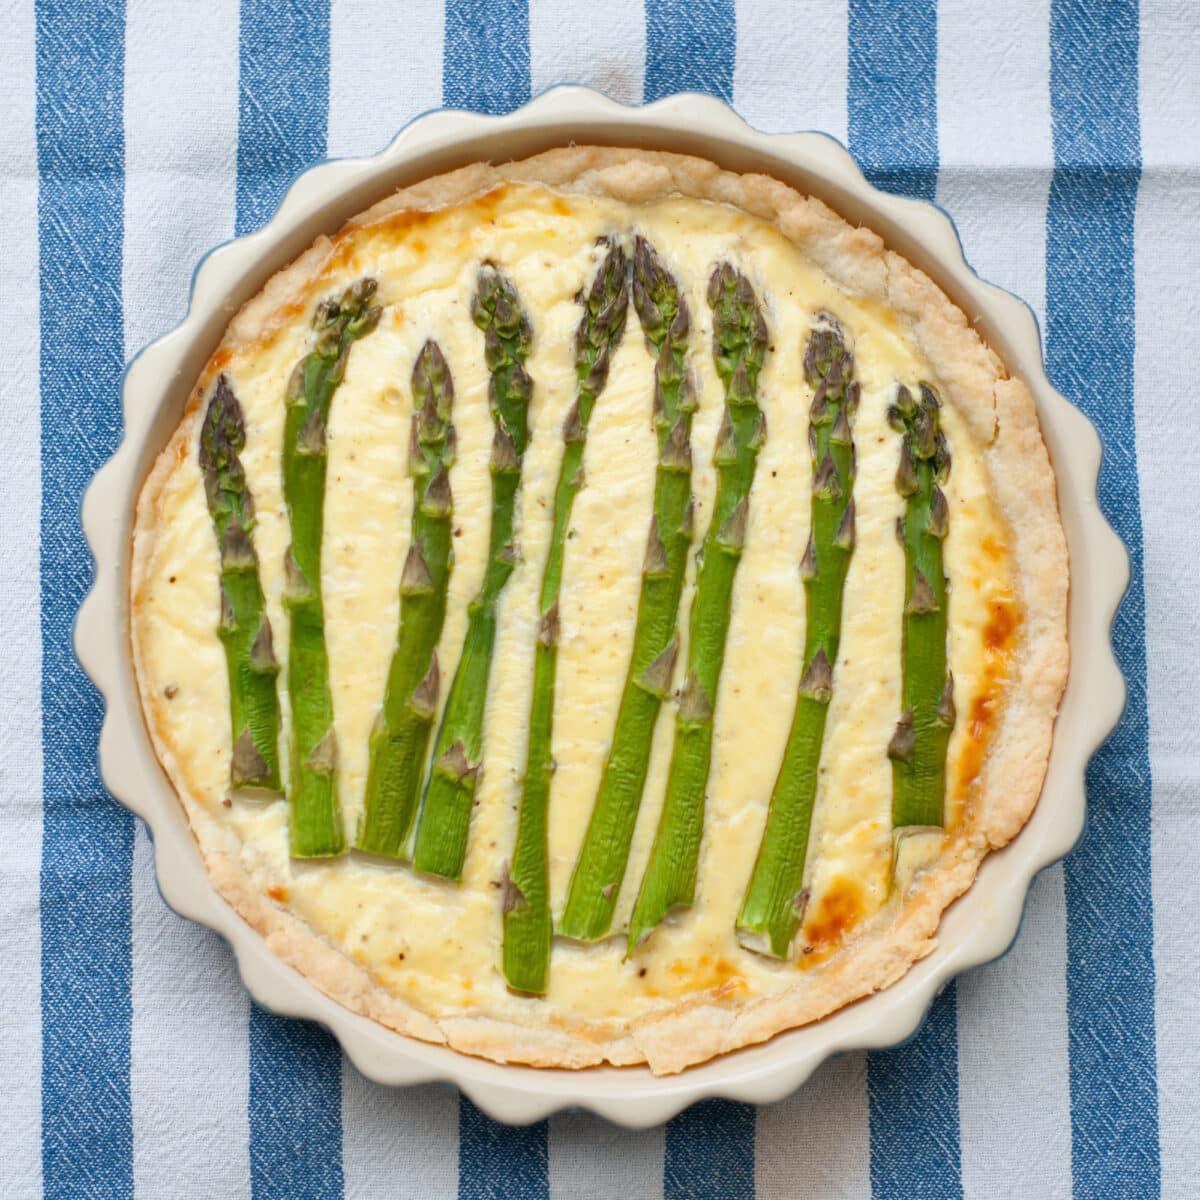
Cue my quick quiche.
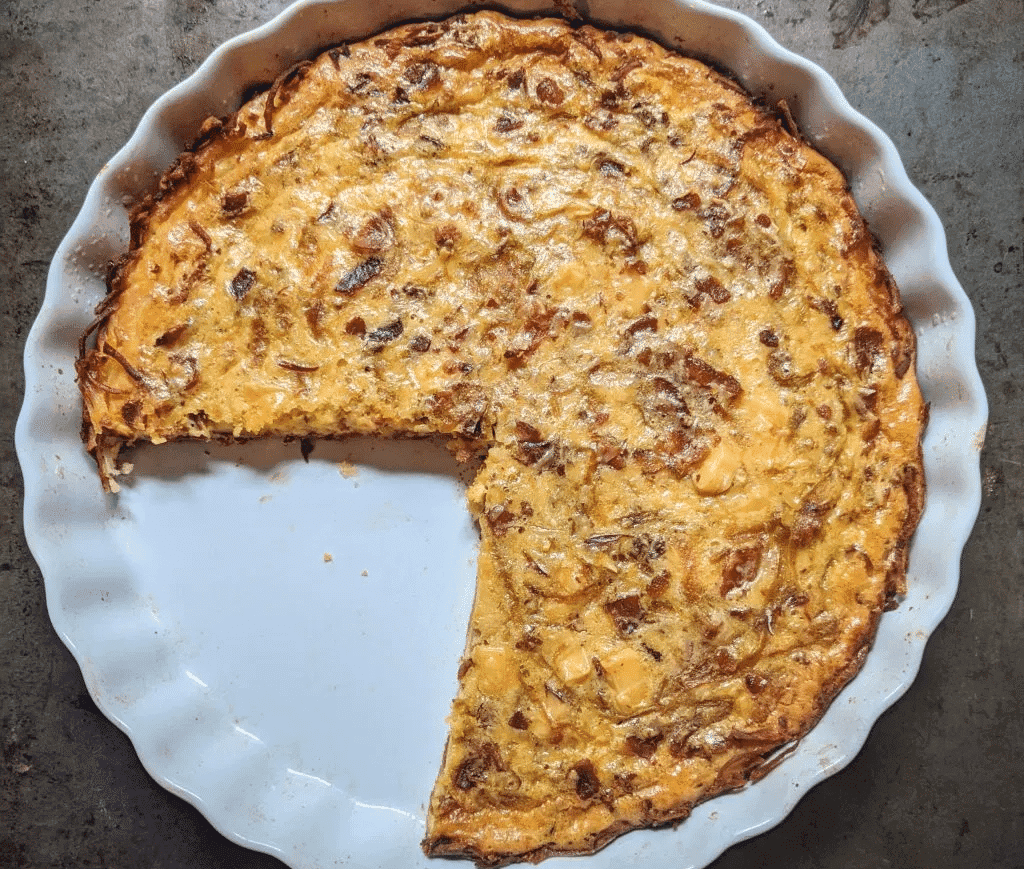
This is essentially ‘kitchen sink quiche” in that I throw in whatever I have in the fridge, the garden, or even what was frozen from last year’s crop. There might be a half-pound of meat from a recipe that didn’t need it all in the freezer, too, and there’s always herbs to add in.
To increase ease and speed (both important things as I juggle the three kids’ schedules, work and the mini farm!) I simply take frozen pie crusts and defrost them on the counter while I prepare the interior.
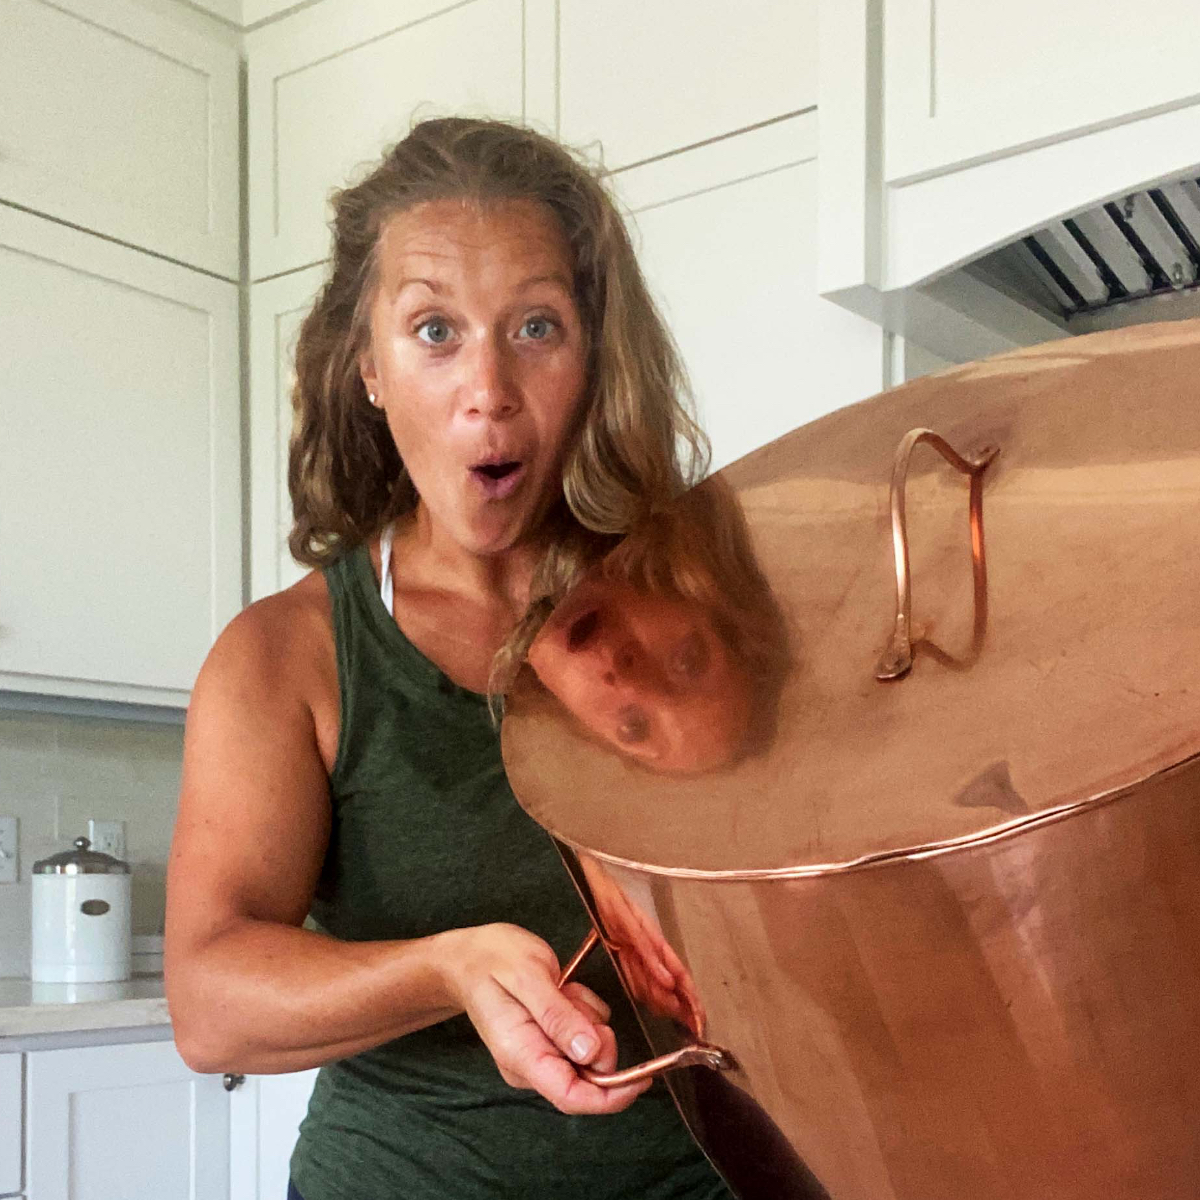
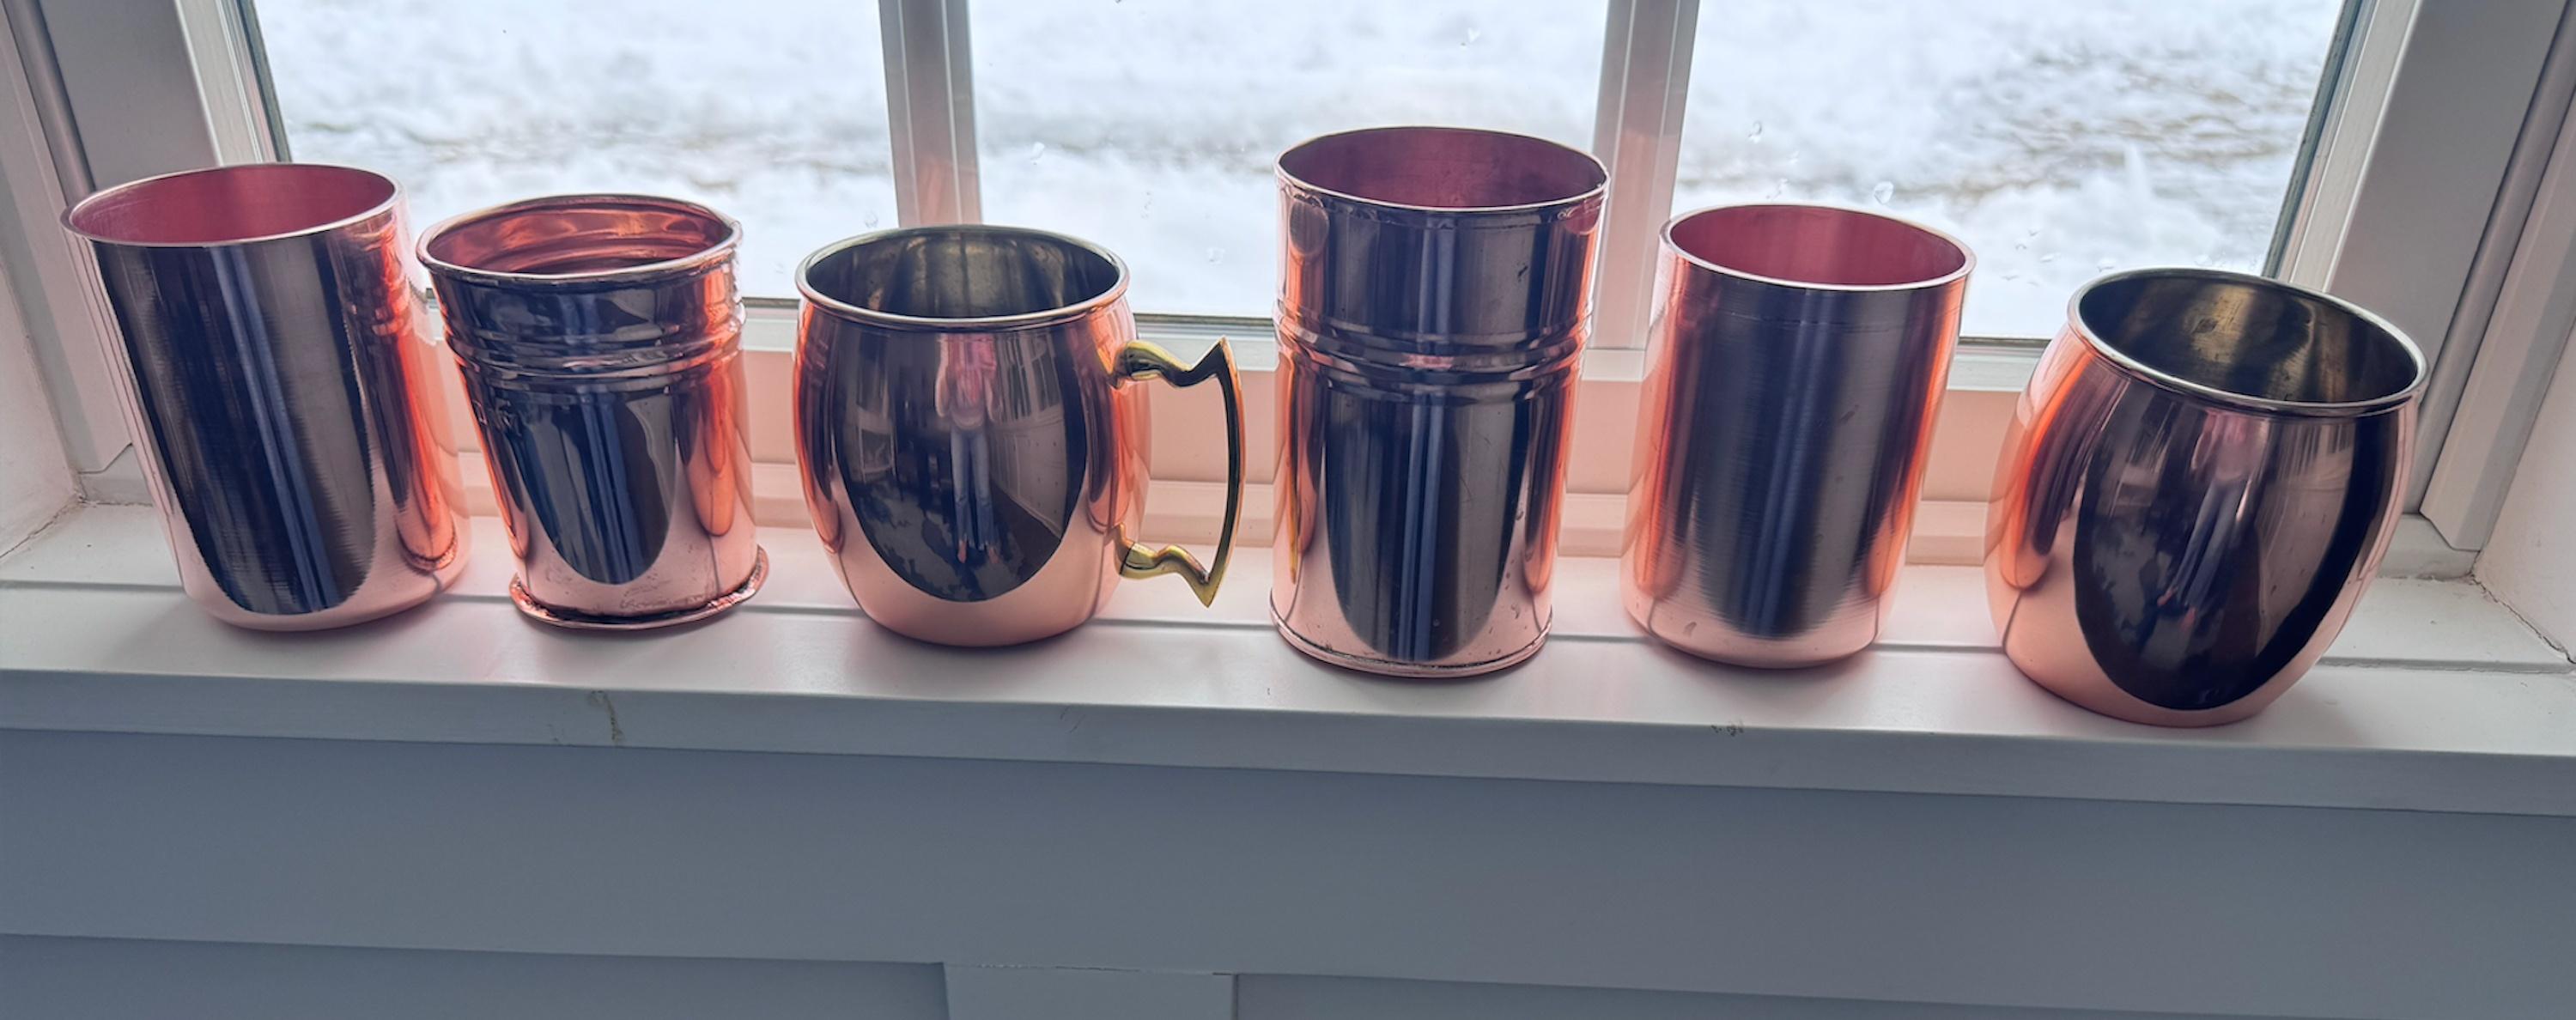
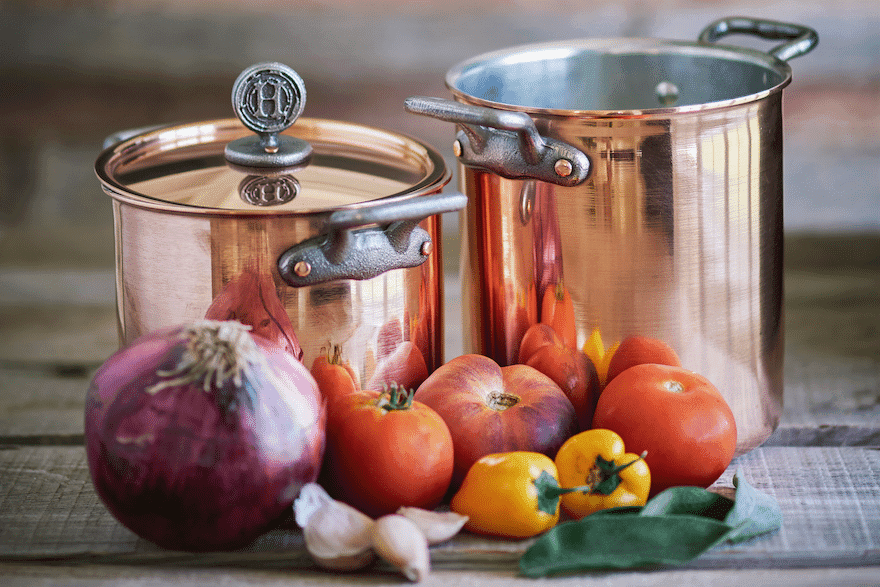
As a coppersmith, I really love whisking eggs in a copper bowl. It’s something I got used to doing early in my metalsmithing career, and after realizing how quickly the eggs got frothy (whites or with yolks) when using a metal whisk, I haven’t looked back since.
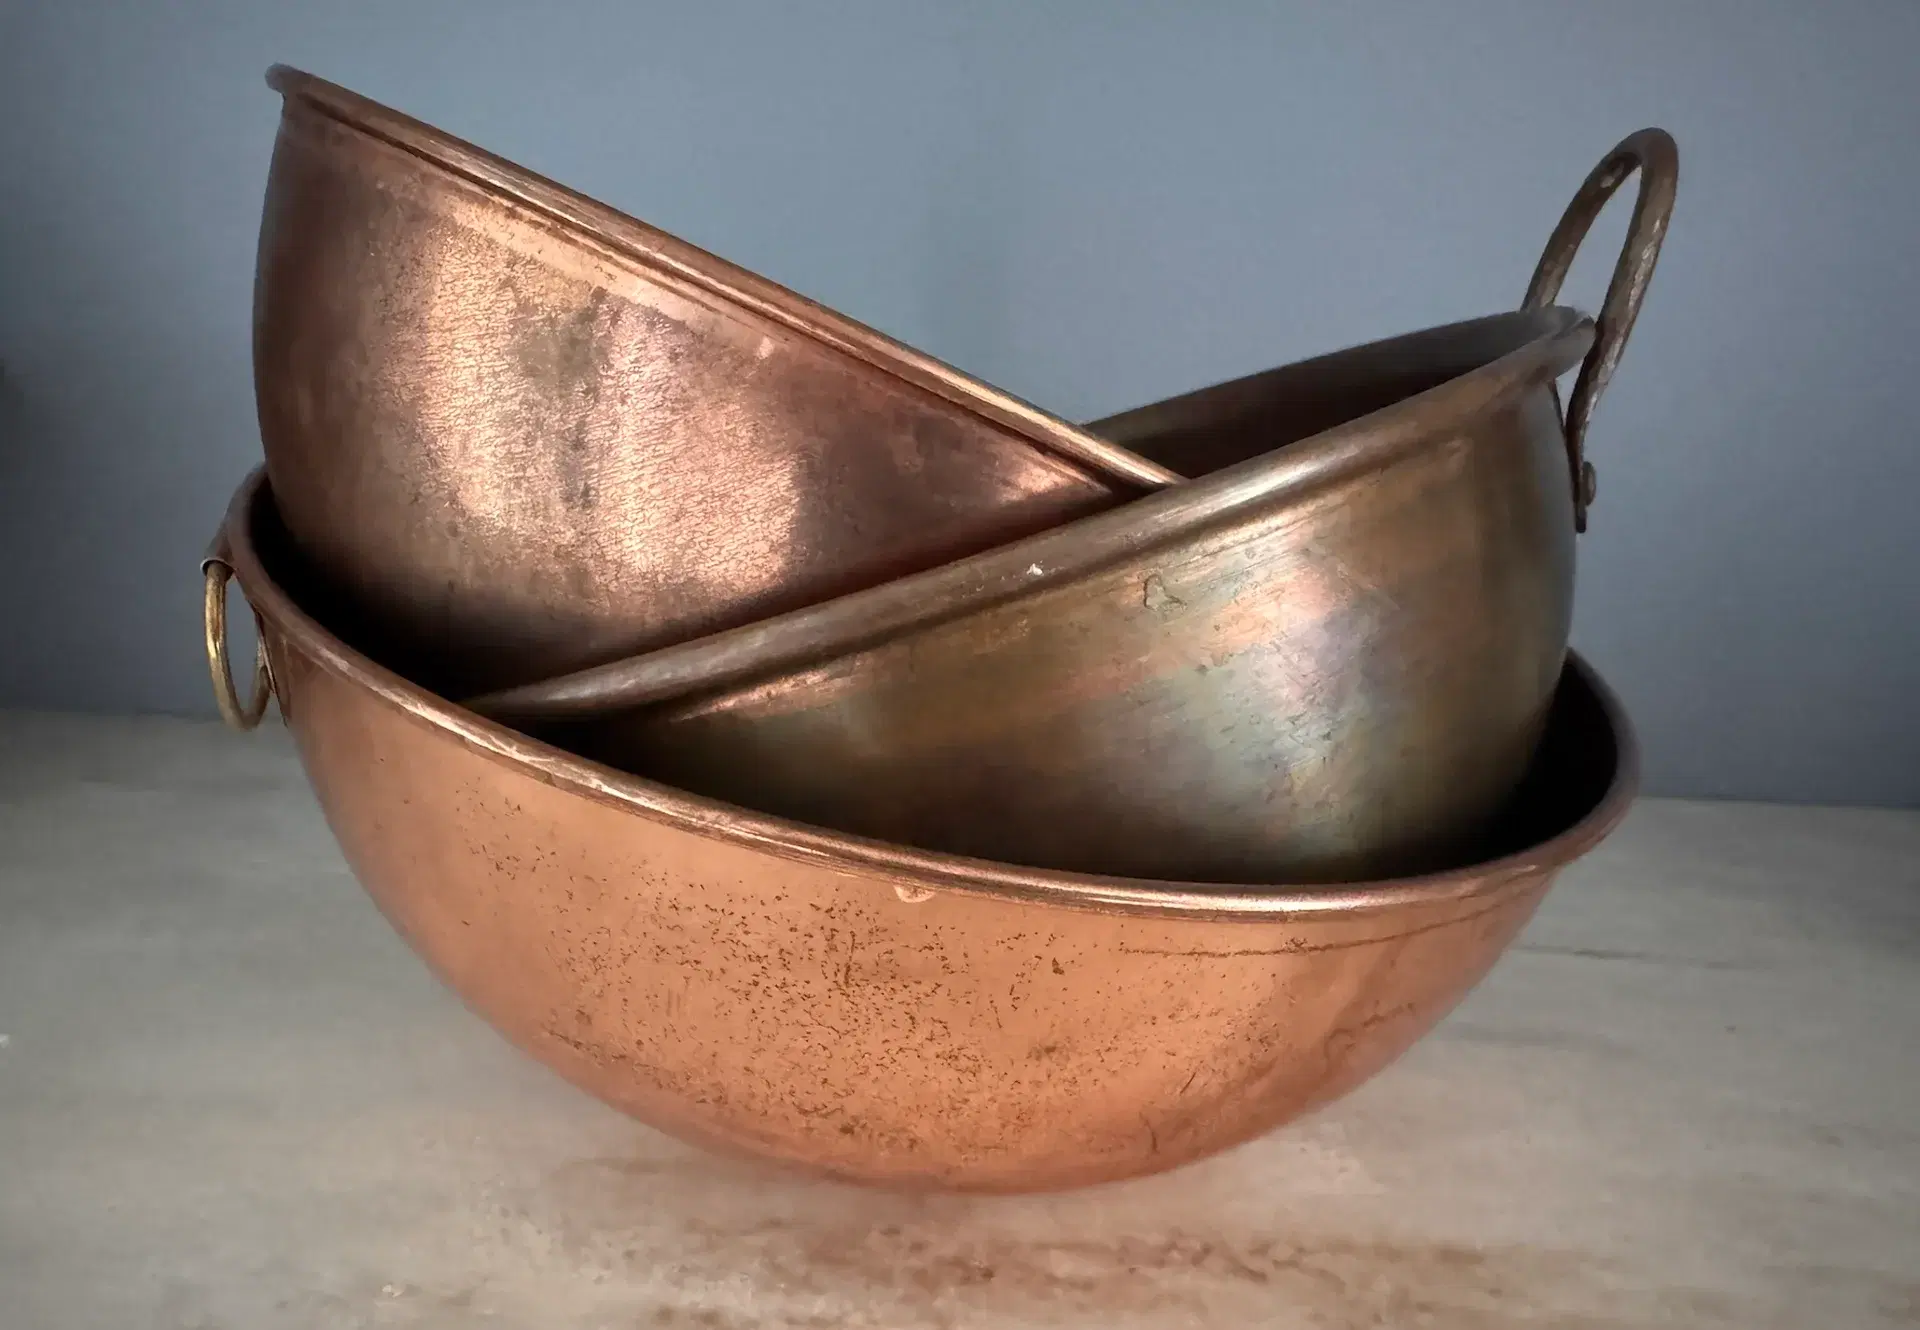
For those of you who want the science behind it: copper molecules are scraped, on a microscopic level, when you whisk eggs / egg whites in a copper bowl. Don’t worry about the infinitesimal bit of copper you’re snatching. Copper is a micronutrient for all of us, and using copper bowls for eggs goes back centuries. What’s happening during the whisking is that the copper atoms are reacting with the proteins in the eggs. That’s what causes extra frothiness—and future fluffiness of the quiche!—when you whisk eggs in a copper bowl. If you’re only using egg whites, same thing. Using a copper bowl to whisk the whites will result in frothier and, later, stiffer egg whites. Perfect for meringues and other egg-white-heavy recipes!
Back to our kitchen sink quiches—after whisking together eggs, I set it aside to brown any raw meat I might be adding, which can range from Italian sausage to chorizo to ground lamb, depending on what’s in my freezer.
A quick hack for meat I do at times is to use any sliced deli like ham or turkey. I’ll chop it up but no need to cook it. Just have it ready to add into the eggs once you’re set with vegetables.
Separately, I’ll also cook up any stiffer vegetables so they’re not totally raw. This is usually things like chopped onions, peppers, and broccoli. I don’t use oil to cook the veggies—just water. This makes your quiche stay fluffy and not so heavy and dense later.
If I am adding in chopped spinach, I’ll do a quick cook of that in water on a small frying pan so it’s soft and limp. If adding in tomatoes, don’t cook them – just chop them to add later. Same for any fresh herbs.
Once you’ve put together whatever meat and cooked vegetables you want, add them into the bowl with the whisked eggs. Then, add in any fresh, uncooked things like your tomatoes or fresh herbs. If you don’t have fresh herbs, add in dried herbs now, too! Salt and pepper can go in now, if you wish.
I often add cheese – and it’s literally whatever cheese I have in the fridge at the time. Shread it, no more than a cup, and add it to the egg mixture.
The final add is not required, but I like to use it if I have it. I’ll pour in a half cup of whipping cream or milk. If I don’t have either, I don’t worry. It simply adds a bit of creaminess, but it isn’t needed to make a delicious quiche!
I bake my quiches at 350F for 30 – 40 minutes, checking back within those 10 minutes if needed. Each quiche bakes at slightly different times depending on the combination of vegetables and meat, and I have yet to make the same quiche twice to start documenting the exact timeframe!
Now, these quiches will sit in tin foil in your fridge for a week. You can re-heat the whole thing at 250F for 20 minutes if you want to serve the entire dish for, say, a brunch. Or, cut a slice and heat it as you go—which is what my currently home-bound, surgery-recovering mother-in-law does. Even better, these things freeze and last a ridiculously long time in your freezer. They make great “get better soon” or sympathy drops for friends and relatives.
Just be sure to label them, so you remember which one is gyro-themed and which is a traditional ham and cheese!
Bottom line, have a blast throwing everything but the kitchen sink into your quiches! I know I do. There’s really no wrong combo! Everyone wins!